Essential Camera Settings for Beginners: Unlock Stunning Photo and Video Quality
Are you new to photography or videography and eager to improve your skills? Understanding essential camera settings can significantly enhance your photo and video quality. In this article, we’ll unlock the secrets of various camera settings, including exposure, aperture, ISO, and more to help you create stunning visuals.
Understanding Camera Basics
Before diving into specific settings, it’s essential to understand the core components that affect your camera’s performance:
- Exposure: The amount of light that reaches your camera sensor.
- Aperture: The size of the lens opening that lets light in.
- ISO: the sensitivity of your camera sensor to light.
Key Camera Settings for Stunning Photos and Videos
1. Exposure
Exposure determines how light or dark your photo will be.It’s crucial to balance exposure to avoid overexposed (too radiant) or underexposed (too dark) images.
- Use the Exposure Compensation feature: Adjust it to lighten or darken your image without changing othre settings.
- Learn to read your camera’s histogram: It helps you assess your exposure visually.
2. Aperture
Aperture is measured in f-stops (e.g., f/2.8, f/4, f/11). A lower f-stop number means a larger opening, which lets in more light and creates a shallow depth of field.
| F-stop | Aperture Size | Depth of Field |
|---|---|---|
| f/2.8 | Large | Shallow |
| f/5.6 | Medium | Moderate |
| f/11 | Small | Deep |
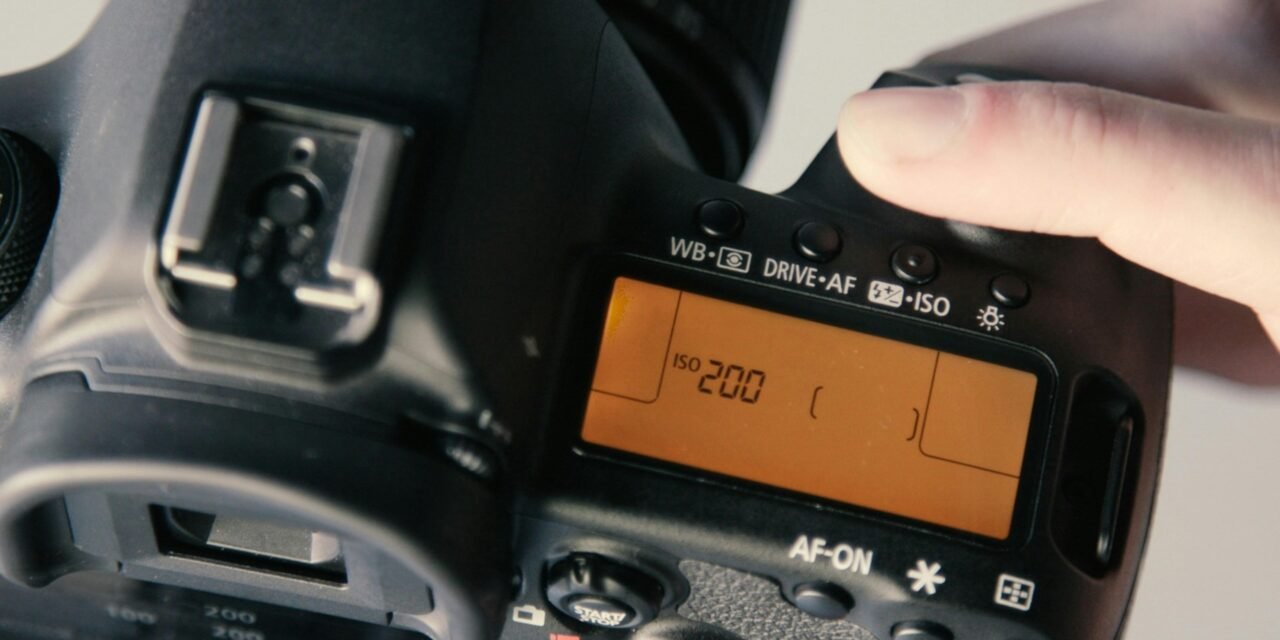
3. ISO
ISO measures your camera’s sensitivity to light. A higher ISO setting is helpful in low-light conditions but can introduce noise (graininess) in your images.
- Start low: Use ISO 100-200 in bright lighting conditions.
- Increase as needed: In low light, increase ISO gradually, up to 1600 or beyond, but beware of noise.
4. Shutter Speed
Shutter speed refers to the amount of time your camera’s shutter remains open to let light in, measured in seconds (e.g., 1/60, 1/500). Faster shutter speeds freeze action, while slower speeds create motion blur.
- Use faster speeds (1/500 and above) for action shots.
- Opt for slower speeds (1/60 or slower) to capture motion blur or low-light scenes (use a tripod).
5. White Balance
White balance ensures that the colors in your photos appear natural under different lighting conditions. Use the following settings based on your habitat:
- Auto White Balance: For general use.
- Tungsten: In indoor, warm lighting.
- Daylight: For shooting outdoors in daylight.
Practical Tips for Beginners
To further enhance your photography and videography, here are some practical tips:
- Practice in Manual mode: It allows you to adjust all settings and understand how they interact.
- Experiment with Different Settings: Take multiple shots with varying settings to see the differences.
- Learn Composition techniques: Basics like the Rule of Thirds can elevate your work.
- Use a Tripod: A stable setup is crucial for both photos and videos, especially in low light.
Benefits of Mastering Camera Settings
Understanding and mastering your camera settings come with numerous benefits:
- Enhancing your creative expression through well-defined visuals.
- Improving your ability to capture moments in varied lighting conditions.
- Gaining confidence to experiment with advanced techniques.
Real-Life Experience: Learning Through trial and Error
As a beginner, I once struggled with taking clear photos at a friend’s wedding.I initially relied on auto settings, resulting in blurry images. After researching and practicing, I learned to adjust shutter speed and aperture. The next time I shot a similar event, my confidence soared, and the results were spectacular. This hands-on experience taught me the importance of mastering camera settings.
Conclusion
Mastering essential camera settings is integral to unlocking stunning photo and video quality. As you practice with exposure,aperture,ISO,shutter speed,and white balance,you will see a marked improvement in your work.Remember, the key to growth in photography is continual learning and experimentation. So grab your camera, explore these settings, and start creating memorable images!

Exploring Advanced Features
Once you feel pleasant with the fundamentals, it’s time to delve into some advanced camera features that can take your photography to the next level:
- Focus Modes: Learn about different focus modes such as Single-Servo AF (for still subjects) and Continuous-Servo AF (for moving subjects) to improve your capture quality.
- Metering Modes: Understanding metering modes like Matrix, Center-weighted, and Spot metering can help you achieve better exposure in challenging lighting situations.
- Custom Settings: Explore your camera’s custom settings that allow you to save specific adjustments for your shooting style or frequently used setups.
The Importance of Lenses
your camera body is just one part of the equation; lenses play a critical role in image quality and versatility. Different lenses provide unique perspectives and capabilities:
- Prime Lenses: Generally offer better image quality and wider apertures, perfect for low-light photography and portraits.
- Zoom Lenses: Provide versatility for a range of subjects without needing to change lenses,making them great for travel and wildlife photography.
Post-Processing: Enhancing your Images
Even the best shots can benefit from post-processing.Familiarizing yourself with editing software can help you maximize your images’ potential:
- Basic Adjustments: Learn how to adjust exposure, contrast, and color balance.
- Enhancing Details: Use sharpening tools to enhance fine details and reduce noise for cleaner images.
- Creative Effects: Explore filters or presets to add artistic flair or create a specific mood.
Incorporating Video Settings
If you’re also interested in videography, understanding camera settings for video is equally important. Here are some essential settings to consider:
- Frame Rate: Choose the right frame rate for your project; 24 fps for a cinematic look, 30 fps for regular video, and 60 fps for smooth motion.
- Bit Rate: A higher bit rate often means higher quality video, so adjust based on your storage capabilities and editing requirements.
- Color Profiles: Experiment with different color settings like Standard, Vivid, or flat to see how they affect your video’s final look.
Networking with Other Photographers
Building connections with fellow photographers can provide valuable insights and learning opportunities. Here’s how you can engage with others:
- Join Photography Clubs: Local clubs or online communities offer support, critique, and inspiration.
- Follow Online Tutorials: Websites and platforms like YouTube feature experienced photographers sharing tips, tricks, and breakdowns of their techniques.
- Participate in Workshops: Formal workshops can accelerate your learning through hands-on experience and professional guidance.
Setting Photography Goals
As you progress in your photography journey, establishing clear goals can help keep you motivated and provide direction:
- Skill Development: Set specific goals for mastering new techniques or settings each month.
- Project Creation: Undertake personal projects, such as capturing your local environment or daily life, to stimulate creativity.
- Sharing Your Work: Aim to showcase your photography on platforms like Instagram or personal blogs to receive feedback and build your online presence.
Adapting to Different Shooting Environments
Every shooting environment presents its unique challenges. Here’s how to adapt your settings accordingly:
- Outdoor Portraits: Use a wide aperture to create a creamy background blur and achieve a stunning focus on your subject.
- Night Photography: Utilize a tripod, lower your shutter speed, and increase your ISO to capture stunning night scenes.
- Action Shots: ensure a fast shutter speed and continuous autofocus to keep fast-moving subjects sharp.


